Learning Goal #6
Students will be able to design a collection of original websites with creative section elements managed through an external, cascading style sheet.
PART 1: Deadlines
Read More
Below are your deadlines for Learning Goal #6: Mastering the Box Model with CSS3. If you complete approximately 1.5 lessons per week, you should be able to keep up with the deadlines.
- April 12, 2019:
5 Lessons Complete (6.1 through 6.5) - May 3, 2019:
6 Lessons Complete (6.6 through 6.11) - TO BE DETERMINED (May 2019):
ICT Final Exam (Web Essentials) - May 6, 2019 through May 28, 2019:
LG6 Final Project
REMINDER: In order to earn an A for each lesson, you need to complete each assignment within the lessons. At the end of each lesson, you will take a short quiz on eCampus and confirm that you have done all the assignments. If you only do some of the assignments, you can still do okay, but it is in your best interest to complete them all. Your grade depends on how much you get done within the time you are given.
PART 2: Overview
Read More
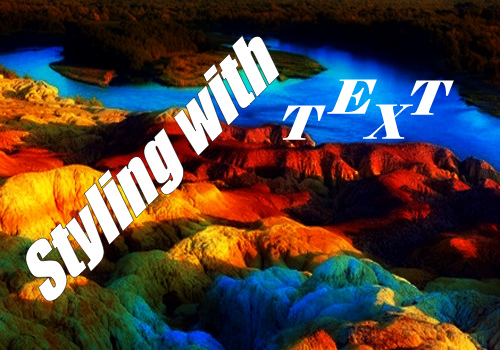
During the last lesson, you experimented with font (family, style, weight, etc) and learned how to use it to style the words on a web page. This lesson allows you to continue working with words, but it has more to do with giving those words color, spacing, shadows, and simple transformations. For example, if you have a section with a very specific width and height and you want your text to fill up the entire section, then you’d want to use a variety of text styles to make it fit. In this lesson, you’ll be building a three-page story with various cliffhangers, but you’ll also be using various text styles to make the cliffhangers look good on the pages.
Below are some helpful tips and resources that you can use during and after this lesson is over.
CSS Style Tips to Remember
- Remember from Learning Goal #5 that color can be written as a name (only 140 available), a hex value (written like #ffcc33) or as an RGB value (written like rgb(0, 100, 255) ).
- The default text-align value is left.
- The line-height property is good for placing text in the middle of a box element with a set height. For example, if the box element has a height of 200px and you want the text in the middle of that element, the line-height should also be 200px.
- If you use the text-shadow property, be careful that the text is still readable. One of the best reasons to use a text-shadow is when text is falling on mixed background colors that make part of a line hard to read.
- When using the text-shadow property, the first value is the x/horizontal direction, the second value is the y/vertical direction, the third value is the blur radius, and the last value is the color of that shadow.
- In almost all HTML elements, text will automatically wrap inside of the parent element. If you use the white-space property to say nowrap, this will mean that the text goes outside of the element.
PART 3: Assignments
Read More
Assignment #1 (1 Point): SoloLearn Lessons
Log into your SoloLearn account and find the Course called CSS Fundamentals. Inside of this course, watch the following lessons (you will need your headphones), but when you finish, be sure to make note of how many SoloLearn points you have earned. Points are based on how many sections you complete and how many questions you answer correctly after each section.
- Color
- Aligning Text Horizontally
- Aligning Text Vertically
- Text Decoration
- Indenting the Text
- Text Shadow
- Text Transform
- Letter Spacing
- Word Spacing
- White Spacing
- Module 2 Quiz
Assignment #2 (2 Points): Design Project (Cliffhangers)
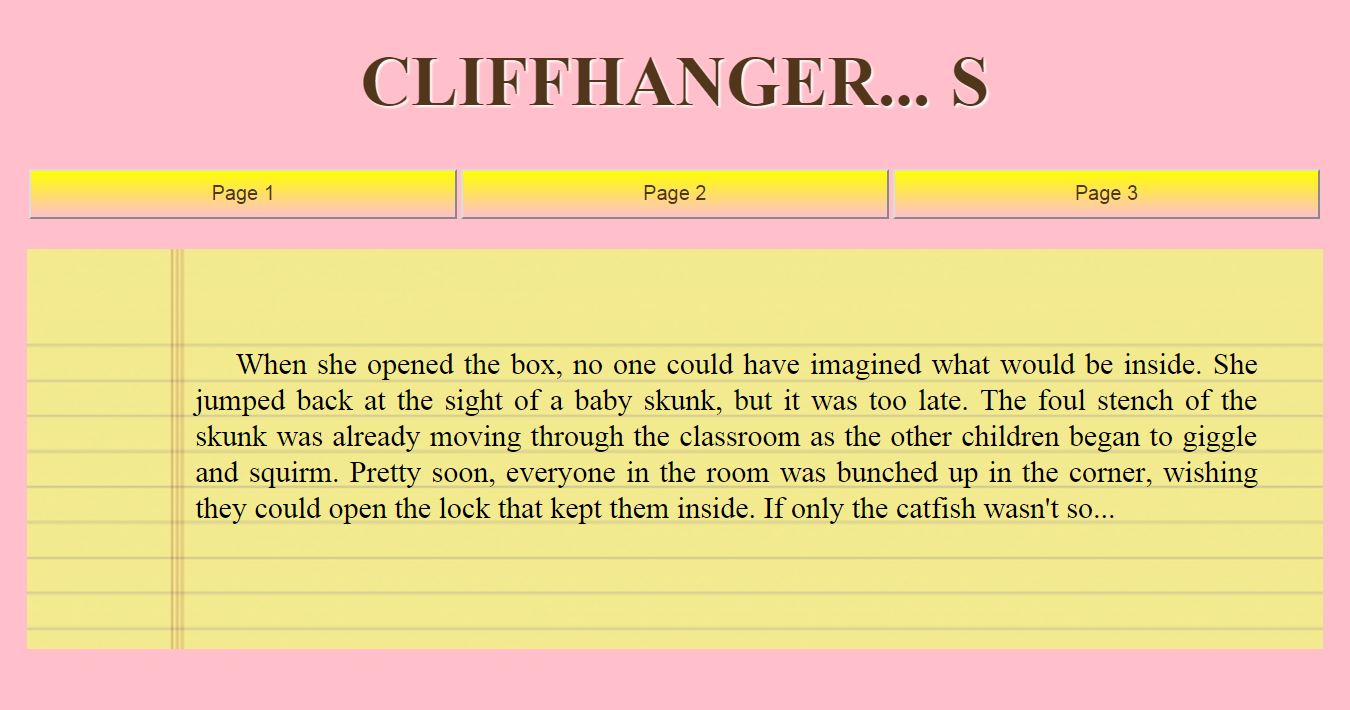
 During the SoloLearn videos, you learned about different properties that you can use with text (color, text-align, line-height, text-indent, text-shadow, text-transform, letter-spacing, word-spacing, white-space, and word-wrap). During today’s design, you will be using those properties to design a three-page website with continuing cliffhangers, but you MUST keep your paragraph text within each line using CSS. Here is an example of what you will be designing. Follow the directions below to complete the design project.
- STEP 1: Go into your CSS subfolder and create a new folder called 6-3_cliffhangers.
- STEP 2: Inside of your new 6-3_cliffhangers folder, create three HTML documents (page1.html, page2.html, and page3.html) and one CSS document (style.css).
- STEP 3: Open your page1.html document, then create a simple source code with (1) a heading called “Cliffhangers,” (2) a three-button navigation menu, and (3) an article section with some kind of notebook paper as the background. Try using margins to center your two sections in the middle of the page so that in the end, it should look something like this.
- STEP 4: Within your article section, write a fictional paragraph that begins with “When she opened the box,” but make sure to end your paragraph with another cliffhanger that you’ll continue on Page 2 like this.
- STEP 5: Using your style sheet ( h1 {} ), find a way to style the heading so that it has letter-spacing and text-shadows like this.
- STEP 6: Using your style sheet ( p {} ), find a way to style the paragraph text so that it fits almost exactly within the lines of your background (line-height, text-align, word-spacing, white-space, etc) like this. You may also have to change the font-size, the color, and the font-family in order to make it look like it belongs on your background. Be sure to use the text-indent feature for your paragraph.
- STEP 7: Find the paragraph element of your page1.html and add an attribute called contenteditable=”true” like this. Save your page, open it with a browser, and see if you can actually edit the paragraph in the browser (sort of like writing a post on your Penzu Page).
- STEP 8: Now copy/paste the code from page1.html into page2.html, but change the content of your paragraph so that it is a continuing story from the cliffhanger on Page 1. Be sure to end the Page 2 paragraph with another cliffhanger.
- STEP 9: Now copy/paste the code from page2.html into page3.html, but change the content of your paragraph so that it is a continuing story from the cliffhanger on Page 2. Be sure to end the Page 3 paragraph with a final cliffhanger.
- STEP 10: Look back over your three Cliffhanger pages, then make sure they all link back and forth. If the pages work, make sure the stories connect back and forth. In other words, make sure that the cliffhangers end on one page, then continue on the next.
Assignment #3 (1 Point): Update Your Index
Similar to the last lesson, take the time to add your new design to your index page using a screenshot and a link. Remember that since you built a three page website, you do not need to provide a link to all three pages. All you need to provide is a link to the first page, which already links to the other pages. Also, remember that the links will have to point into the folder you made.
Assignment #4 (1 Point): Review and Quiz
Look over the 6.3 Review Sheet. Read over the vocabulary terms. Look over the questions. Make sure you know how to answer each question. Then go to eCampus, find the quiz for Lesson 6.3, and take it. This is a way for you to show the teacher that you have finished this lesson.
If you have finished the assignments in this lesson, you will need a new password so that you can enter Lesson 6.4. Feel free to ask the teacher and don’t be afraid to raise your hand or go up to ask. If you are actually finished with a lesson, you will get an answer.