Learning Goal #5
Students will understand, practice, and apply the basic syntax for programming interactive elements with JavaScript.
PART 1: DAILY DISCUSSION
Read MoreTOPIC 1: REVIEW OF ONLINE PROGRAMMING
 As you learned in the last lesson, every video game is played on some kind of system. If we were all learning how to design games for XBox, we would have to learn the programming languages for XBox. If we were learning how to design games for Nintendo, we would have to learn the programming languages for Nintendo as well. But in this class, we’re learning how to design games that work online. That means we have to learn a few of the programming languages that help to make online games work. Remember when we looked at source codes? Those are the kinds of codes that you’ll be learning in this class because those are the kinds of codes that make things work online.
TOPIC 2: A REVIEW OF HTML
The first coding language you learned was HTML, or Hyper Text Markup Language. You learned that HTML is basically just the skeleton for a web page. It’s not very fancy and it might even be a little bit boring all by itself. But without it, you can’t build anything else. Without HTML, there’s no place to put a start button, there’s no place to set up an avatar, and there’s no place to design an interactive gaming environment. Here is a colorful breakdown of how HTML works.
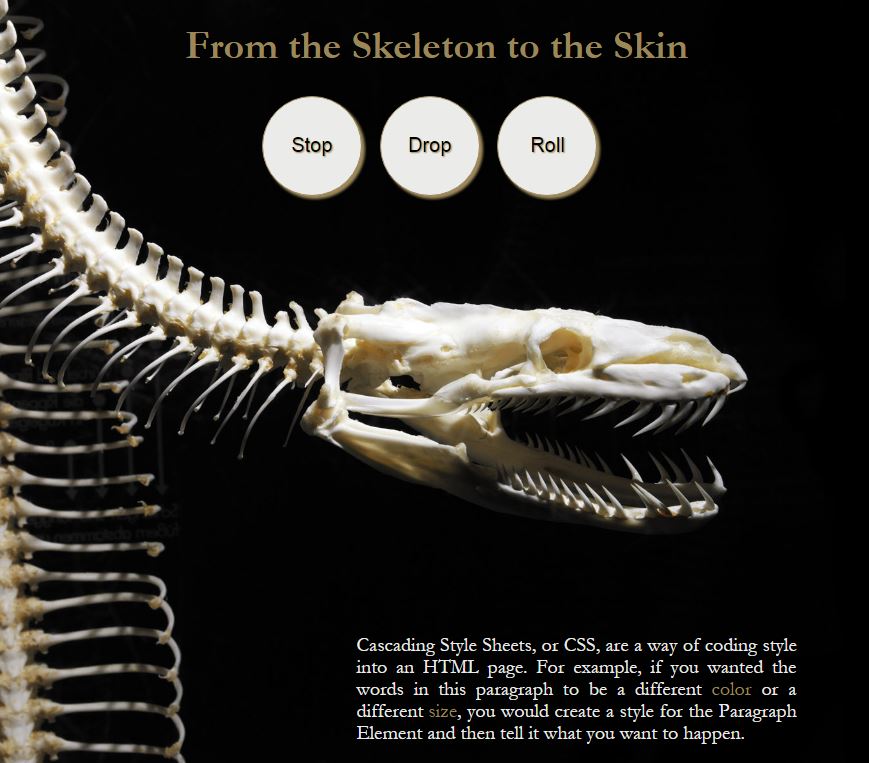
TOPIC 3: FROM SKELETONS TO SKINS
Every computer browser (like Firefox or Chrome) is built to read HTML. That means when you open up Chrome and you see a page on the screen in front of you, the browser is reading whatever language is inside of the source code. That also means it understands what each HTML tag or element is supposed to look like by default. Text will be black. The background will be white. And headings will be a certain size. So if you want to change any of that stuff, you have to create some style. And on the World Wide Web, style is known as CSS, or Cascading Style Sheets. Here is a simple breakdown of how CSS works.
 TOPIC 4: CSS IS THE SKIN
Hopefully right now, a few things are starting to make sense. Web pages are built with HTML as the skeleton. And the skeleton is just a structure that has a white background with some black text. When you add style, it’s basically like you’re adding skin to the skeleton. You’re trying to make a body look more interesting, maybe even a little pretty. Does that make sense so far?
TOPIC 5: ANOTHER WAY TO LOOK AT IT
Web pages can either look extremely boring or extremely interesting. The reason we stay on a web page or a website is because we found that it grabbed our attention. Either we really enjoyed looking at it or there was something to do on the page that made us want to stay. Here is a really simple look at how HTML and CSS work together. At the very least, it’s another way of looking at this whole discussion about HTML and CSS.
PART 2: DAILY DESIGN
Read More STEP 1: GETTING CAUGHT UP
This step is ONLY for a team with someone who missed Lesson 5.1. If you OR your partner(s) were absent, then read the paragraph below. Otherwise, if you AND your partner(s) were here during the last class, then please go on to Step 2.
Since one of you was not here for Lesson 5.1, the other person will need to show you how to set up folders, how to find Notepad, and how to change the format on Notepad. This was part of the Daily Design from the last lesson, so you can always go back and look at the steps. Please get caught up now by setting up all the right folders, opening Notepad, and changing the format.
STEP 2: CREATING A NEW FILE
Open a new Notepad document and save it as “lesson2_skin.html” in your “LG5_basicjs” subfolder. You must not forget the “.html” at the end of the file name that you’re saving.
STEP 3: DOWNLOADING AN IMAGE
For this design, you will need an image, so click here to open it, then right-click on the image to download it. Please put it into your “LG5_basicjs” subfolder. BOO!
STEP 4: FINDING THE HIDDEN CODE
Somewhere on this page (between Step 1 and Step 4) is a hidden skeleton code. See if you can find it. Once you do, go ahead and copy/paste it into your Notepad, save it (CTRL-S), and open it with Google Chrome.
STEP 5: CREATING A SPLIT SCREEN
When you reach this point, you have everything necessary to get started. So drag your code to the left side of your monitor and create a split screen so that you can see the design on the right. The teacher will know you are done when your screen shows the code on one side and the design on the other. Once the teacher sees that you and your partner are all set up, you will probably be asked to stand up and help someone else out.
CSS until EVERY student has completed Steps 1-5.