Learning Goal #5
Students will be able to construct complex web pages and understand the purpose of every HTML element, attribute, and value that was written into their code.
PART 1: Deadlines
Read More
Below are your deadlines for Learning Goal #5: Mastering the Foundations of HTML. If you complete approximately 1.5 lessons per week, you should be able to keep up with the deadlines.
- January 11, 2019:
Getting Started – Lesson 5.0 - February 1, 2019:
5 Lessons Complete (5.1 through 5.5) - February 4, 2019:
Quarter Quiz #1 (Questions from 5.1 through 5.5 Only) - March 1, 2019:
6 Lessons Complete (5.6 through 5.11) - March 4, 2019:
Quarter Quiz #2 (Questions from 5.1 through 5.11) - March 4 to March 13, 2019:
Learning Goal Project (Grading on March 13)
REMINDER: In order to earn an A for each lesson, you need to complete each assignment within the lessons. At the end of each lesson, you will take a short quiz on eCampus and confirm that you have done all the assignments. If you only do some of the assignments, you can still do okay, but it is in your best interest to complete them all. Your grade depends on how much you get done within the time you are given.
PART 2: Overview
Read More
The word metadata may sound strange, but in web design, it just means a definition or description of the information on a web page. For example, every time you use a title tag in the head, you are creating a very short description of the page that will be seen in the browser tab. When you use a style tag in the head, you are creating a collection of styles that will define how the rest of the page looks. This lesson will show you how to work with metadata tags in the head of your HTML documents.
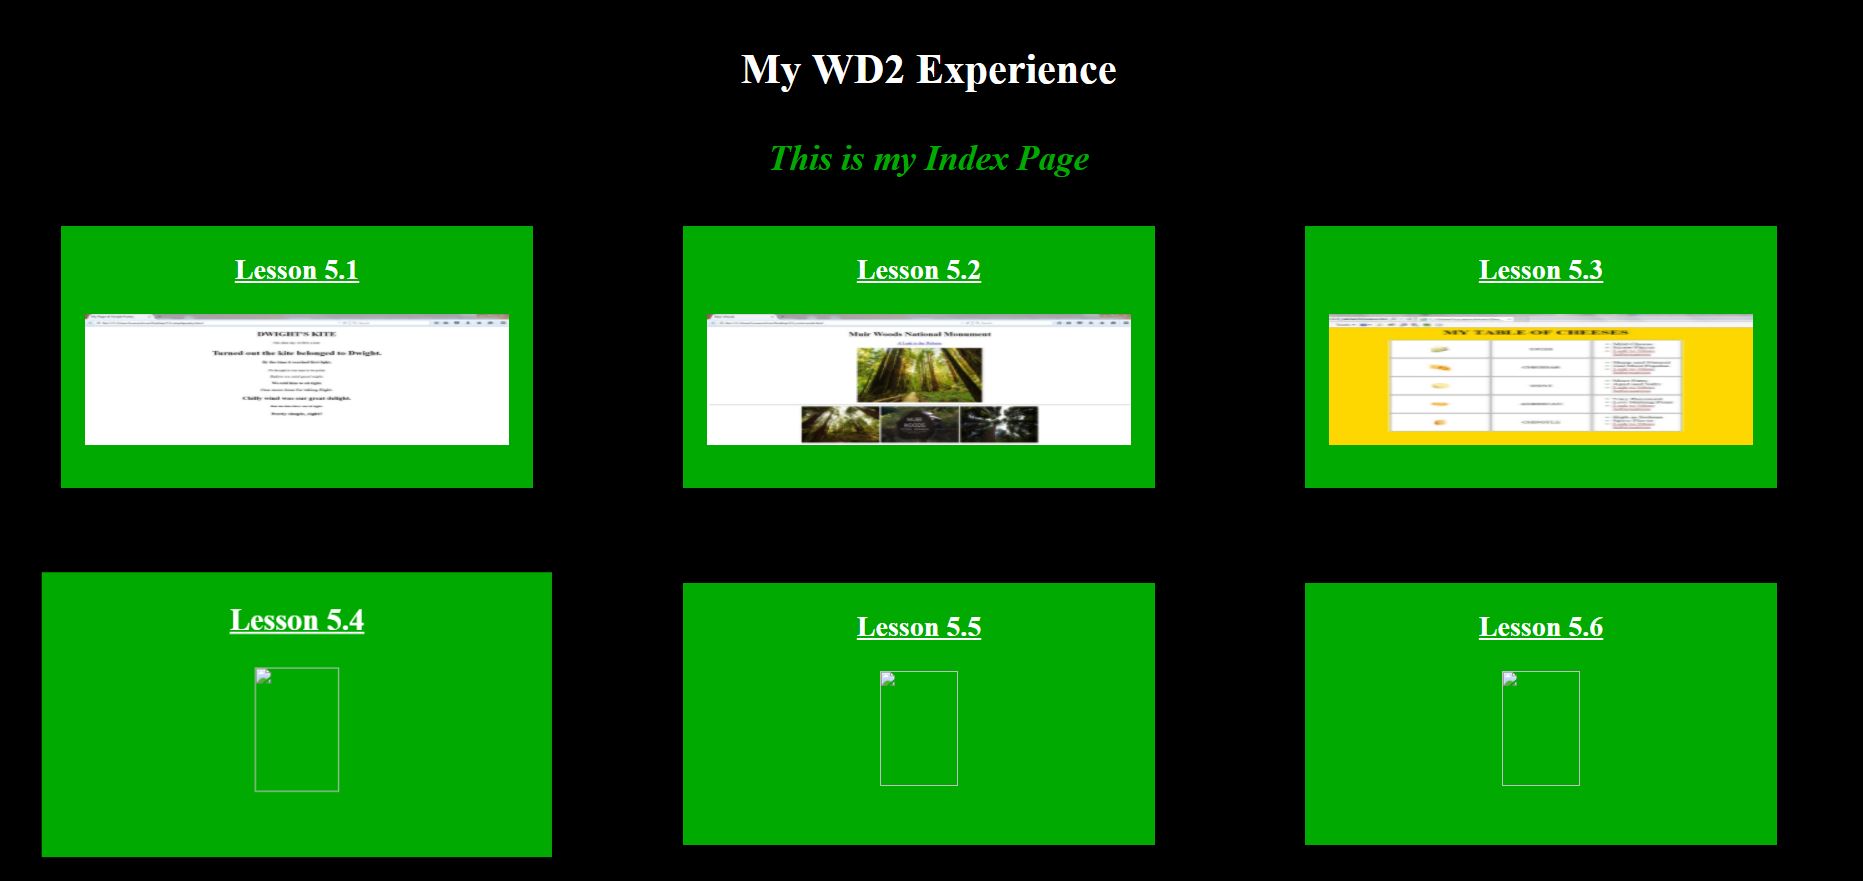
In addition to working with metadata, this will be the first time that you organize all of your existing pages into one index file that links all of them together. Think of an “index” file (index.html) as the home page or the root of all the other pages. You’re going to build a root that links to each of your existing pages.
Below are some helpful tips and resources that you can use during and after this lesson is over.
Important Points to Remember
- In HTML, “metadata” is a simple way to describe a web page up in the head section of the .html document using the meta tag.
- The meta tag almost always includes a name attribute (such as author, description, keywords) followed by a content attribute that answers the name attribute (such as the name of the page’s author, a description of the page, or some of the most important keywords on that page).
- One of the most important meta tags to include on every web page is called the character set (charset) and it helps to assure the browser of what alphanumeric characters will be used (1, 2, 3, a, b, c, !, @, #, etc).
- The title tag is a form of metadata that also goes in the head section and simply names the page with some text that can be seen in the browser tab.
- The link tag should not be confused with the anchor tag (a). The link tag is only used to point the browser to a document that is useful to the web page (such as a separate .css or .js document).
- The style tag is used for internal styling, but in HTML5, web designers are urged to do their styling on a separate .css document, then connect that document to the web page with a link tag.
- Meta tags do not boost a web page to the top of a search engine, but they are useful in the way that search engines display a website (example).
- The link tag can also be used to add favicons to the tab where the title text shows up. Here are some code examples that you could use to include a favicon.
- The index of a website (saved to the root folder or root directory as “index.html”) is known as the Home Page. It’s the way that web designers link to all the other pages on their website..
PART 3: Assignments
Read More
Assignment #1 (1 Point): Adding Metadata
Adding Titles
As you probably remember from Web Design I, the title tag goes into the head of your document and it adds a very short description of your web page. In this assignment, you will be adding a title element to all of the pages you created for Lessons 5.1, 5.2, and 5.3.
- STEP 1: Open up these three web pages with Notepad: (1) 5-1_simplepoetry.html, (2) 5-2_muirwoods.html, (3) 5-3_tableofcheese.html
- STEP 2: In the head of these three documents, give each one a title.
- STEP 3: Save your work and check your pages in Google Chrome to make sure that the tabs each have a title.
- STEP 4: Leave your pages and your Notepad documents open so that you can add a favicon below.
Adding Favicons
Favicons are those little “icons” or pictures (aka, favICONS) in the browser tabs next to your title that look like this. You currently have three web pages that you created for Lessons 5.1, 5.2, and 5.3. In this assignment, you will be adding favicons to each of your three web pages.
- STEP 5: In your /img folder, create a subfolder called /favicons.
- STEP 6: Go to Google Images and find three icons that match your three web pages (poetry, forest, and cheese). Remember to use Search Tools and change the size of your image search to “icon.” PNG works better than JPG when it comes to favicons. Save your images to the /favicons folder.
- STEP 7: Now that you have three favicons ready, insert those favicons to your Notepad files like this. If you just want to copy/paste the link before changing the file path, use this.
- STEP 8: Refresh all three pages in Google Chrome and make sure the favicons actually show up in your browser tabs.
- STEP 9: Leave your pages and your Notepad documents open for Assignment #3 below.
Adding Character Sets
When a browser pulls up your HTML and tries to read it, one thing that it will look for is a character set. This just means the browser wants to know what language you will be using. It might seem a little bit complicated, but take a moment to look over this page and try to understand what Character Sets really are. Adding them onto your pages will be VERY easy.
- STEP 10: Below the favicon link in your three Notepad documents, simply add the charset meta tag like this.
- STEP 11: The last thing you need to include is the actual meta tag with descriptions, keywords, and an author. This is the most basic way of explaining your web page from the very top. Read about the meta tag before going on to Step 3.
- STEP 12: Below the charset in your three Notepad documents, simply add three meta tags like this.
- STEP 13: When you are finished, save your work and close down your three web page files. Every page you design after this lesson must now always include a title, a favicon link, a meta charset, a meta description, a meta keyword list, and a meta author.

Assignment #2 (2 Points): Building an Index
The following assignment will, hopefully, make the rest of your semester a little more organized. You are going to build an index page that has links and images to all of your various designs. It might take a little time to set it up, but once you have it all ready to go, anytime the teacher comes to ask about your work, you should be able to open up the index and wander around to any page. Follow the steps below to get started.
- STEP 1: Open up a new document with Notepad or Notepad++ and save it as “index.html” in your WD2 Folder.
- STEP 2: Copy/paste this code into your “index.html” file, save it, open it with a browser, and then take a moment to look over the code to see how it works.
- STEP 3: Update the Meta Data on this page with a few extra keywords, a more personal description, some kind of digital favicon that fits your personality, and then add yourself as the author.
- STEP 4: Take screenshots of your three other pages, save them into your /img folder, and plug the pictures into their correct SRC path.
- STEP 5: Make sure that the first three links work.
- STEP 6: Update the design as you wish to make your home page a little more unique. Add or change whatever you wish (background image, more style, change the colors, etc). As you get better and better throughout the semester, you are encouraged to update this page instead of just using the design you received.
Assignment #3 (1 Point): Review and Quiz
Look over the 5.4 Review Sheet. Read over the vocabulary terms. Look over the questions. Make sure you know how to answer each question. Then go to eCampus, find the quiz for Lesson 5.4, and take it. This is a way for you to show the teacher that you have finished this lesson.
If you have finished the assignments in this lesson, you will need a new password so that you can enter Lesson 5.5. Feel free to ask the teacher and don’t be afraid to raise your hand or go up to ask. If you are actually finished with a lesson, you will get an answer.